This is My Entry into December 2013 World of CraftWar on the DM's Craft Forum

Far to the North of Jarlgar near the Jotan Pass in the Great Ice Flow sits the
The Grove of Uldargron Wyrmheart
the Great Elder Druid and Leader of the Drudic Circle of Ahrn.
The Grove of Uldargron Wyrmheart
the Great Elder Druid and Leader of the Drudic Circle of Ahrn.
Initial Sketch

Final Product


With this build i wanted to achieve a playable, easy to store Terrain set that could be changed for more Scenarios as apposed to making a one set piece. All the Elements are not fixed down.
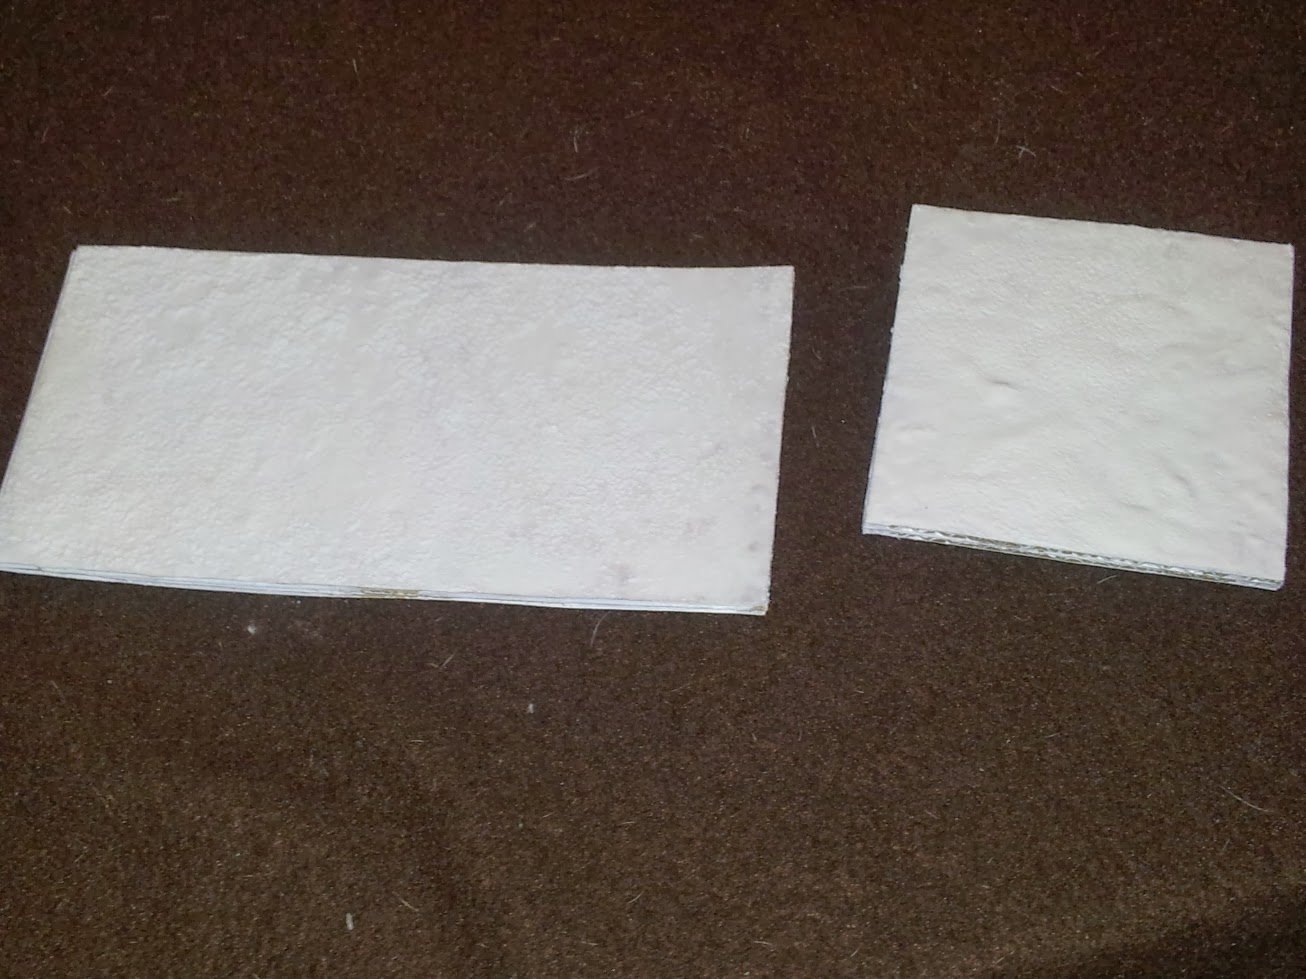
The Materials

1/ Card Board
2/ Card Stock
3/ Aluminum Foil
4/ White Glue
5/ Toilet Paper
6/ Talcum Powder
7/ Hair Spray ( or other spray adhesive )
8/ Craft Paints
9/ Clear Plastic Sheet of off the Cover of a display Folder
10/ White Candle
11/ Small Deep edge Frying pan (got mine from Cheap shop , was suitable to fry an Egg)
12/ Flour Sifter ( Top Tip: tell your wife you plan using hers and she will buy you one :) )
13/ Normal Crafting Tools: Pens, Pencils, Ruler, Exacto Knife, Scissors, Paint BrushesThe Base Boards
There are 8x 10cmx10cm , 12x 10cmx20cm and 1x 20cmx20cm game boards. All the Boards are made of Cardboard from a regular packing Box, they are all Double thickness, this was done so that the Ice edging of the Lake/river pieces would have depth and a stable base.
1/ cut all the bases out first, The Ones that are land only can simple be glued together. Take note on your cardboard here and any pictures on them place down, as you will be painting white strong colors like reds and blacks can show through.

3/ The top Pieces of the water tiles need to be cut to shape your water edges, i used the 5cm mark of the Boards as a guide so it was uniform and i can put them together in different layouts.Keep the pieces you cut off for a later step. Some tiles like the one above a cut a small Pond into. Once these are cut they can be glued down. again be patient here, again some buckling will happen but it will settle.

4/ Paint the Boards White now, doesn't have to be heavy as the snow will go on top.
5/ The Ice, Ok be careful on this step, Candle wax IS HOT, Grab your small fry pan and melt some candle in it, do it slowly.

Do your ice shards first so you can see how fast it drys, let it dry and then tap out onto your work space, if it is totally stuck reheat for a few seconds just to release the bond. Once out fun part smash it into shards to be spread on top of the water, i don't think it shows in the Pictures well but there is a 3D effect with the ice on the water, buy putting it on top the clear sheet it gets a reflection and looks like there is some under the water

Now for the River Edges, this bit you will be working while the wax is warm still, please be careful here, Wait until the was has turned color from its clear melted state, poke it with a pencil to test it has started to set, but not harden, scoop out a bit with a spoon and test its not to hot with your finger, again this will take a few minutes after it has turned from its liquid form. Now roll it into your hand to form a tube and lay it against your coast line, Mold it into it and then shape, most can be done with your hand and finger nail but using your Exacto knife helps here to.
6/ Let it Snow - Grab your Talcum powder , White glue and some water, mix 50 /50 water and glue and then add the Talc into it mixing until you get a Thick Paste.

Now with a Brush Dab it onto the boards , Paint it on and mix it all about, Do the hocky pocky if ya have to even. Leave in globs in some bits, this will settle so don't be afraid of High areas. Let this step dry totally before moving on it will take a day, Avoid the temptation to poke with finger, if its not set you will leave a print.

Once it is dry Grab the off cuts of the water tiles, the Hair spray , Flour Sifter and the Talcum Powder. Again if you threaten to use your wife's hair spray and Sifter she will buy them for you :)
This part is Messy and the Talc will get every were, not as bad as Glitter but yer it will spread, part of the fun is cleaning up right?
What you need to do is Spray the snow area's with hairspray, This is were you use the Off cuts of the water tiles to mask the spray so it does not get on your water. The Powder will but it wont stick and can be cleaned off, the little buts that stayed on the ice Coast actually gave more texture to it. Before the spray drys quickly put some Talc Powder into the sifter and cover the piece. Let this dry will before moving on, it took a couple hours, now tap the tile slightly on its edge and then blow the excess powder off, i did this multiple times as i didn't want Powder getting on Miniatures or other terrain every time i used them. What your left with is a great Snow texture.

The Other Elements
All the other pieces were formed first with Aluminum foil


Here are some of the Elements being made.
Throne Sculpt Rune Stones


All the Pieces The Tree Arch


The Throne ready for painting

To achieve the Carvings of the runes on the Circle and rune stones i used Card stock from a Note pad Backing, its soft enough to mark your design in and once painted kept its shape, Go over it several times with a pencil, do it slowly, if you slip you will mark in places you dont want.

Once all drawn i then used a black Ball point pen to go over, it is sharp enough to cut just a little deeper and emphasize your carving, A Pencil will get blunt doing this

Once painted and Dry bushed it comes up like this, it looks even better not in photos , they don't do it justice.

The Base was then built up with Card board and Aluminum foil and Toilet paper just as the Other Items

The Ice Pond
I did a frozen over pond too. Made exactly the same but to simulate air pockets trapped under the ice the Clear sheet is not glued down, instead Candle wax is dripped onto it and the the sheet is placed Candle side down , the sheet is cut smaller so its held in place by the upper board.

Ok so that was basically it other then painting it all and the Clean up.


 (Title Art by earlteagrey)